How to use Wis3D
Create Wis3D API
The first step of using Wis3D in your project is to create the Wis3D API.
from wis3d import Wis3D
wis3d = Wis3D(vis_dir, sequence_name, xyz_pattern)
The vis_dir is the directory where objects will be saved. Wis3D will create files and subdirectories under this path,
so it’s better to provide a dedicated vis_dir separate from your other files.
The sequence_name is the subdirectory of vis_dir. Wis3D will create scene folders under the sequence_name. You can use scene to
save time-varying data. The default scene id is 00000. Different types of data will be saved in the current scene folder.
You can switch different scenes at the bottom of the Web page. In addition, you can switch different sequences in the current vis_dir in the
upper right corner of the page.
xyz_pattern applies the mapping of the Three.js coordinate to the target coordinate. Default is xyz_pattern=('x', 'y', 'z')
Save data
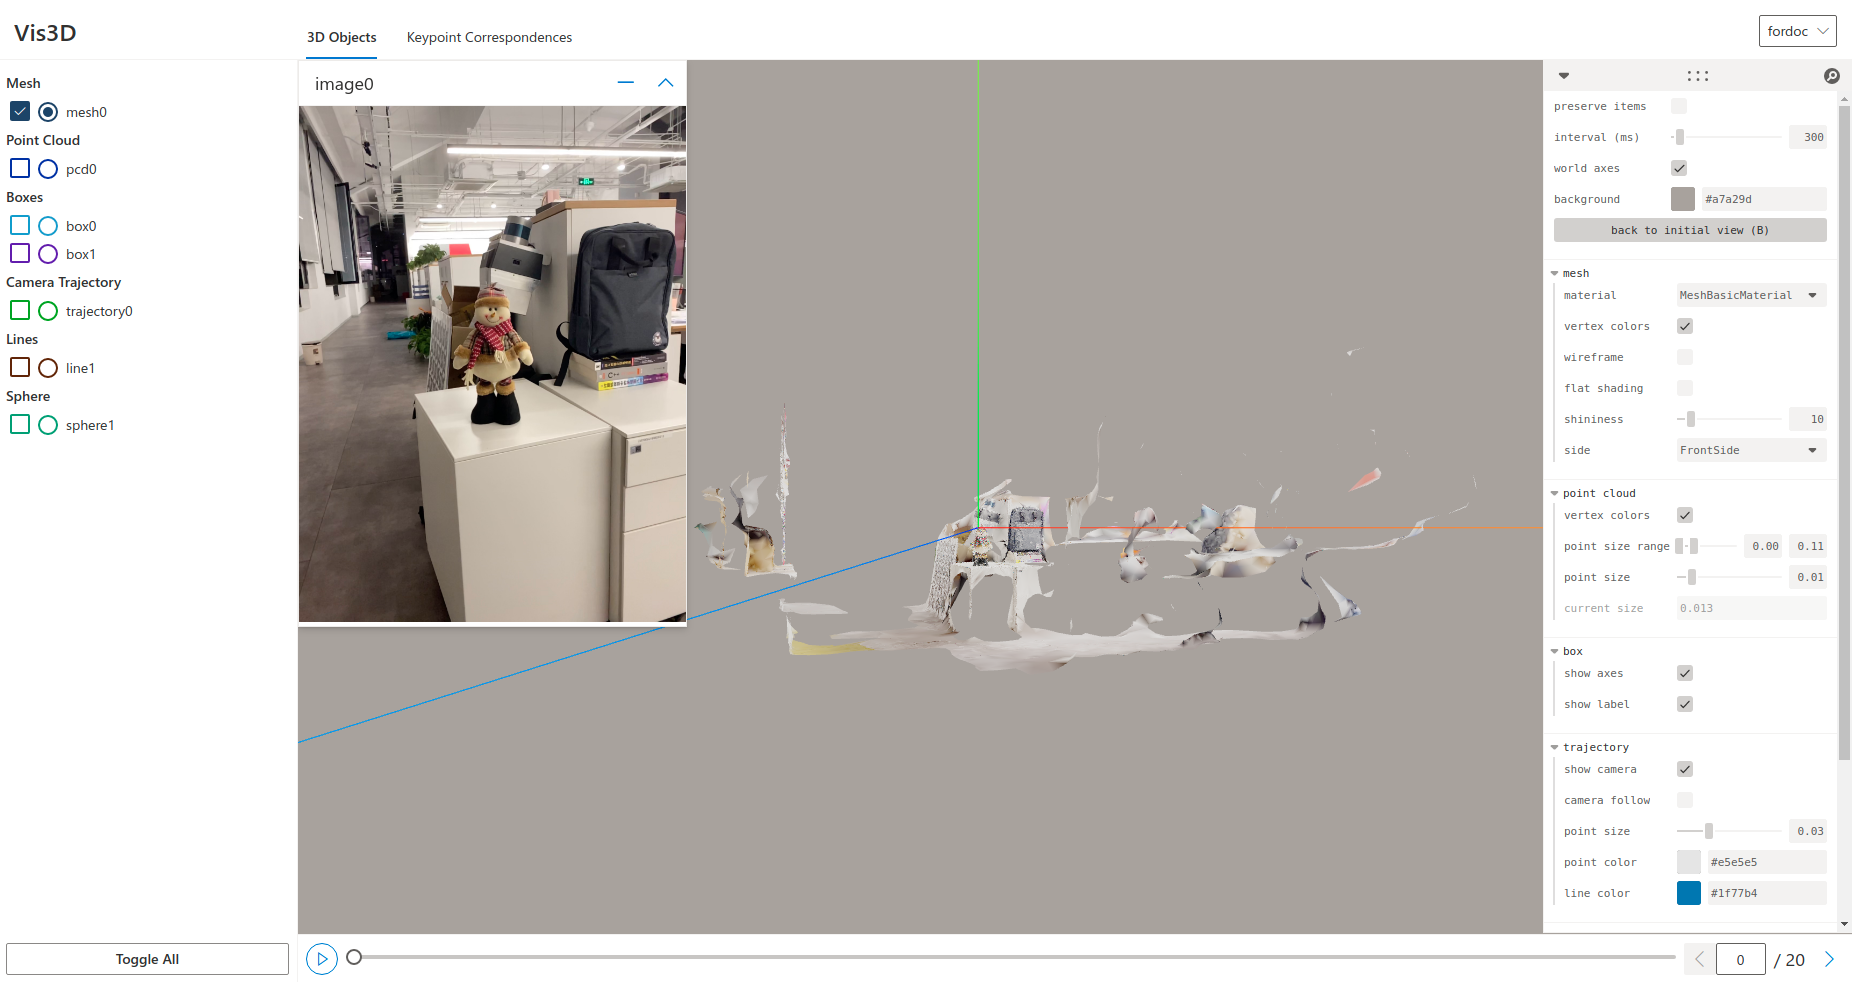
Wis3D API supports meshes, point clouds, camera trajectories, voxel grids, boxes, spheres, lines, images, and keypoint correspondences.
Use Wis3D.add_{types} to save objects and Wis3D.set_scene_id(scene_id) to switch scenes. For more, please visit Python API.
Start Web page
After adding data to the Wis3D, start the Web server.
wis3d --vis_dir $vis_dir --host $host --port $port --verbose $verbose
vis_dir is the same as vis_dir above.
host is the hostname to run the service, default is 0.0.0.0.
port is the port to run the service, default is 19090. If the port number is unspecified or is used, increase one by one from 19090 to find a free port.
verbose decides whether to let CherryPy log detailed information, default is False.